
Last updated November 2, 2026
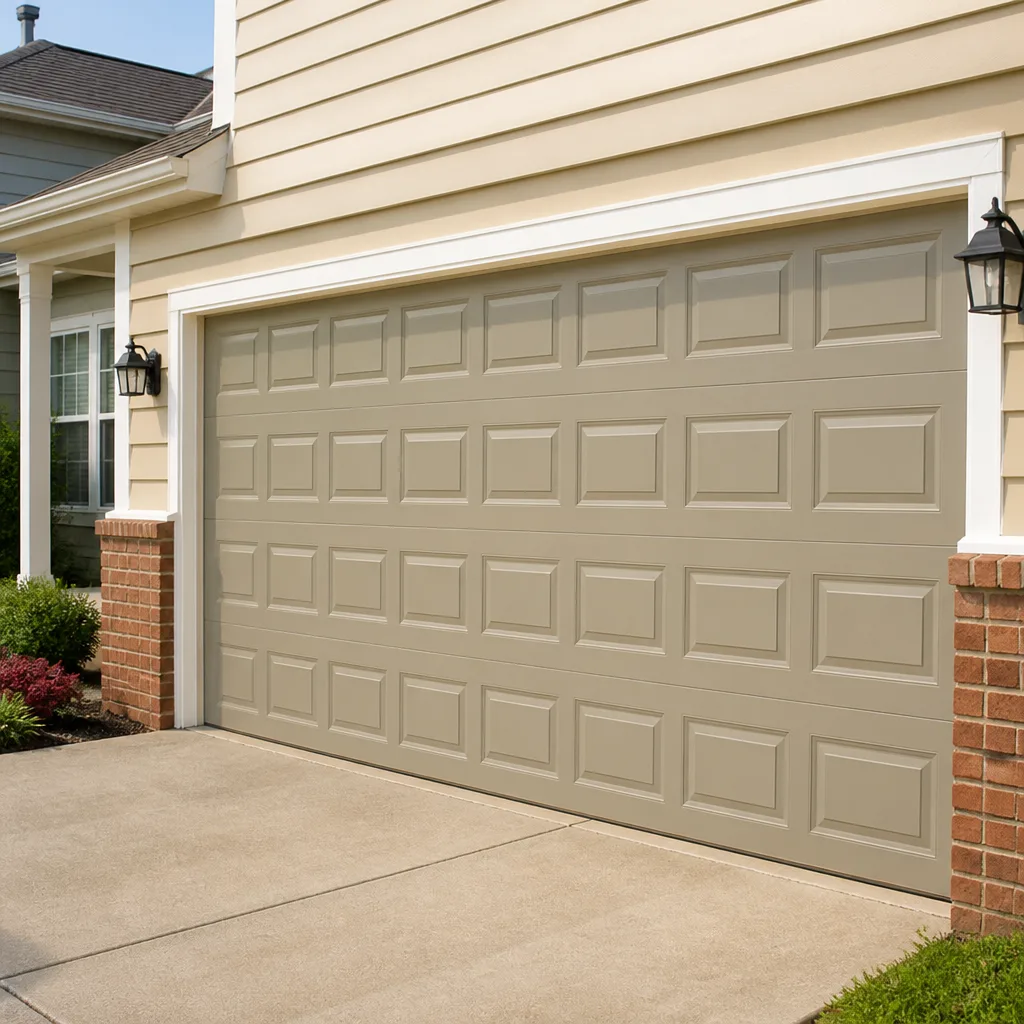 Raised-panel steel
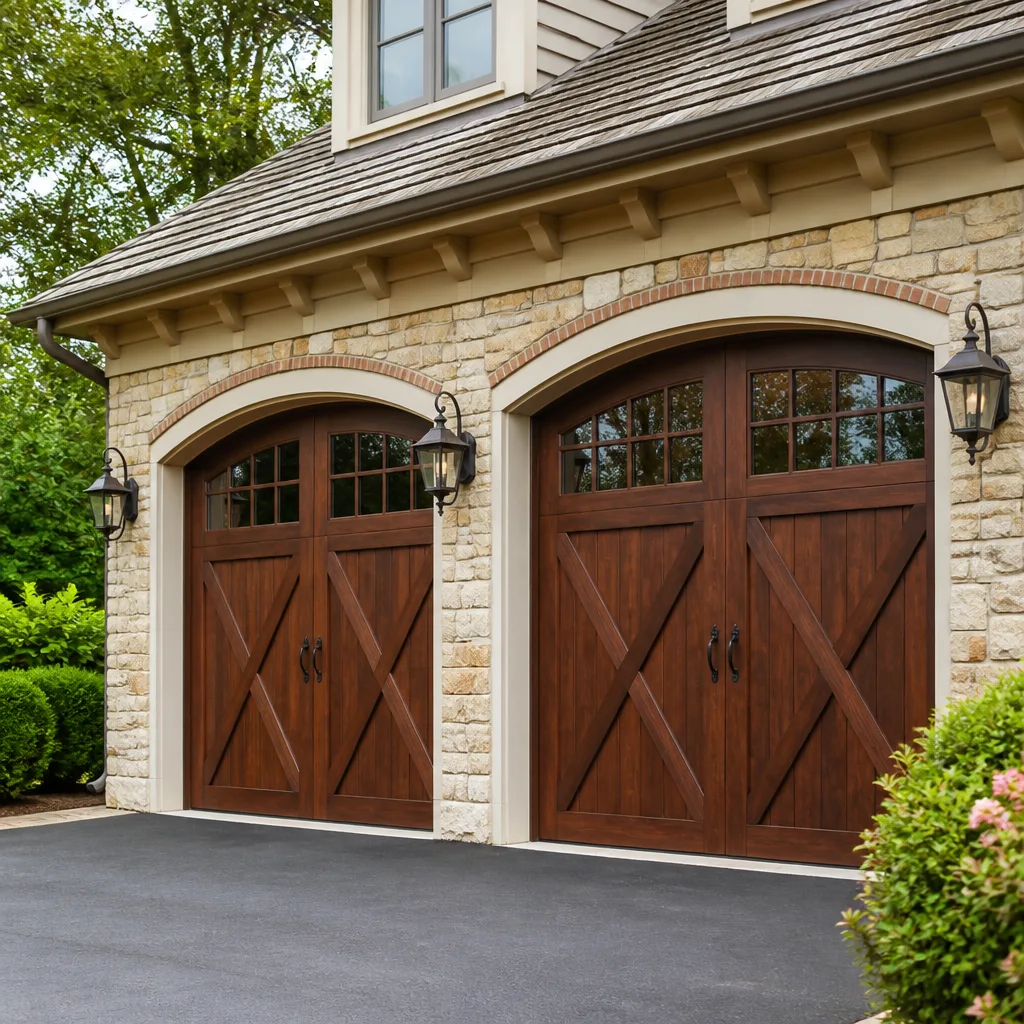 Carriage house
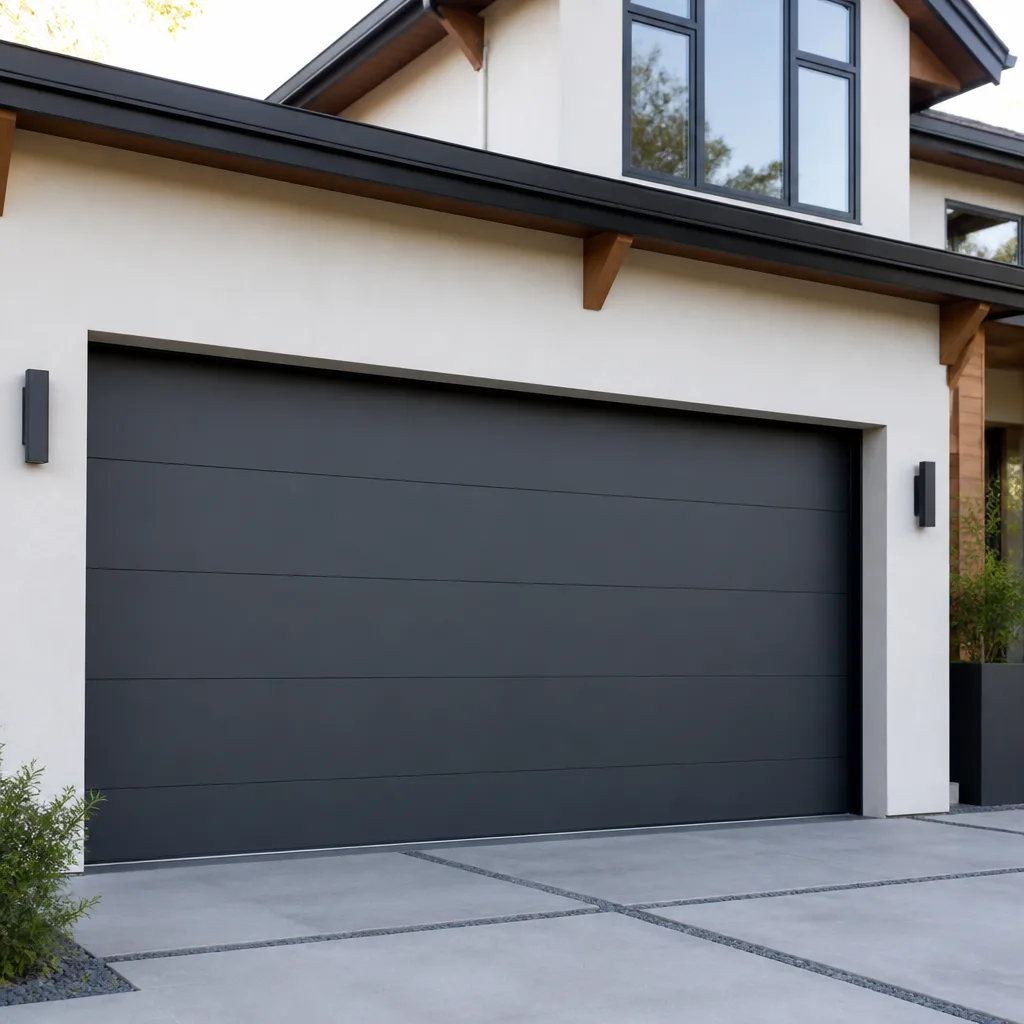 Modern flush
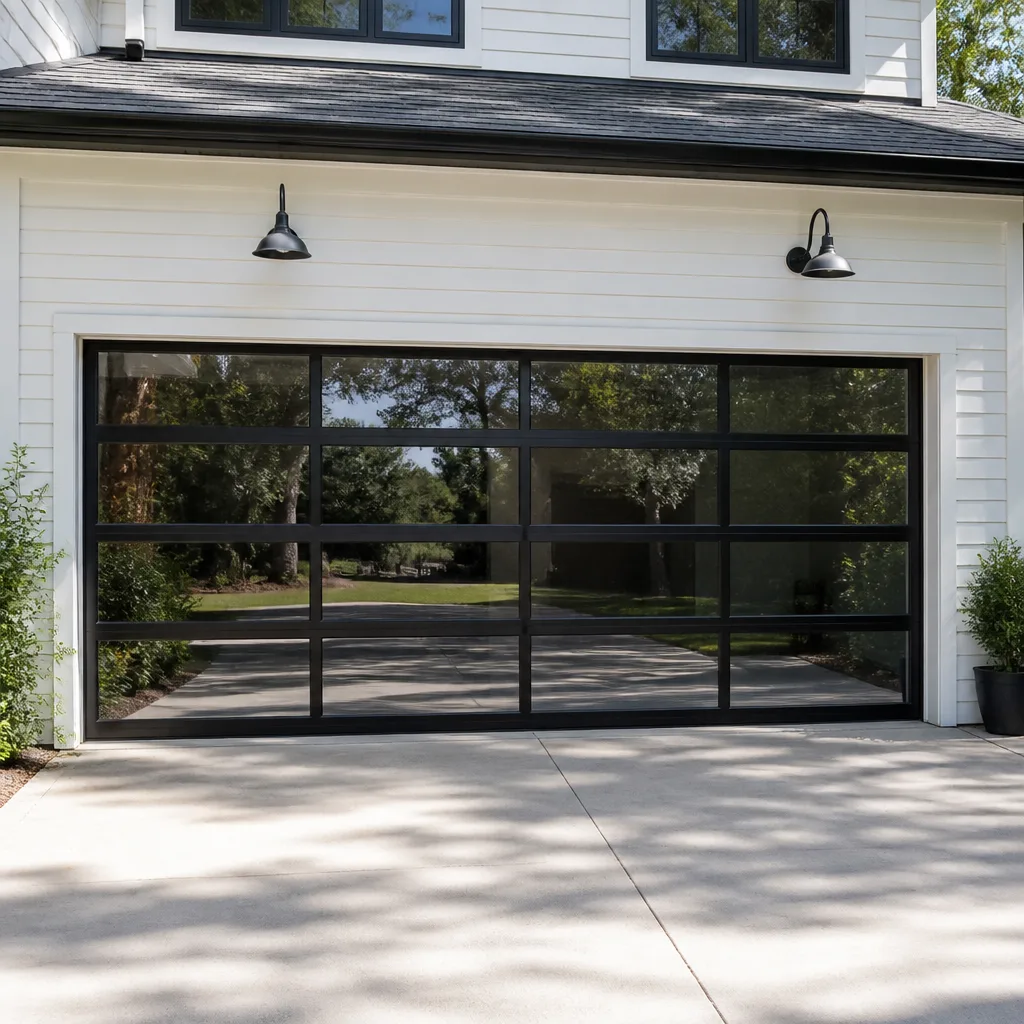 Full-view glass
 LiftMaster openers
 Chamberlain openers
Full 25-point door and opener safety check with every visit - springs, cables, rollers, tracks, and your LiftMaster or Chamberlain opener included
You get a price before we start. It does not change when the truck arrives.
Get your free estimateGarage Door Repair Troubleshooting: Common Problems and How to Fix Them
Most troubleshooting guides list symptoms without teaching homeowners how to distinguish a $15 fix from a $400 one. That’s the gap this guide closes. A garage door that reverses before closing isn’t necessarily a sensor problem. It’s sometimes a logic board issue, sometimes a travel limit setting, and sometimes a bent track. Getting that wrong costs you a service call on top of the actual repair. We’ve seen it happen in Fountain Valley more times than we can count, and we wrote this guide so you can walk through a diagnostic logic tree and understand what you’re actually dealing with before calling our Garage Door Repair services.
Styles & brands we work with
- Raised-panel steel
- Carriage house
- Modern flush
- Full-view glass
- LiftMaster openers
- Chamberlain openers
Quick Answer
Garage door repair troubleshooting starts with one question: is the problem mechanical (the door itself) or electrical (the opener)? Mechanical issues account for roughly 60% of what we see, and they usually announce themselves with grinding, binding, or visible misalignment. Electrical issues announce themselves with clicking, humming, or a door that responds to the wall button but not the remote. The single fastest test is the manual release: if the door opens smoothly by hand, the problem is almost certainly the opener. If it binds or sticks, the problem is the door, the track, or the springs.
Table of Contents
- The Symptom-to-Cause Matrix
- The 60-Second Test: Mechanical or Electrical?
- Door Reverses Before Closing: The Three Most Likely Causes
- Grinding, Popping, and Squealing: Reading the Noises Your Door Makes
- How to Read Opener Error Codes on LiftMaster, Chamberlain, and Genie
- How to Do a Safe Manual Release and Visual Inspection
- Why Fountain Valley’s Climate Matters for Your Door
- Common Mistakes to Avoid
- When to Call a Professional
- Frequently Asked Questions
- The Bottom Line
The Symptom-to-Cause Matrix
Before you touch anything, you need a map. Here’s what we tell homeowners in Fountain Valley when they call describing a symptom: match what you’re seeing to the most likely causes below. The causes are ranked by probability based on what we actually encounter in the field.
Symptom: Door reverses before closing
- Most likely: Photo-eye sensors misaligned or dirty (70% of cases)
- Second: Travel limit setting too sensitive (20% of cases)
- Third: Logic board malfunction (10% of cases)
Symptom: Door won’t open at all
- Most likely: Broken torsion spring (cable snapped, spring visibly separated)
- Second: Opener motor failure or stripped gear
- Third: Disconnected emergency release cord
Symptom: Door opens partially, then stops
- Most likely: Broken spring (one of two springs failed, leaving unequal tension)
- Second: Track obstruction or bent track section
- Third: Opener force setting too low
Symptom: Grinding noise when operating
- Most likely: Worn rollers or roller bearings
- Second: Opener gear and sprocket stripped (LiftMaster and Chamberlain units especially)
- Third: Track misalignment causing metal-on-metal contact
Symptom: Popping or banging sound
- Most likely: Section hinges worn or loose
- Second: Torsion spring binding and releasing
- Third: Door sections separating at the joints
Symptom: Remote works intermittently
- Most likely: Remote battery dying
- Second: Opener logic board failing (common on units older than 10 years)
- Third: Signal interference from LED bulbs or nearby electronics
This matrix is your starting point. The 60-second test below will help you narrow it further.
The 60-Second Test: Mechanical or Electrical?
Here’s the single test that tells you whether your problem is mechanical or electrical in under 60 seconds. Pull the emergency release cord, typically a red rope hanging from the opener rail. This disconnects the door from the opener carriage. Now try lifting the door manually.
If the door opens smoothly by hand with moderate effort, the door itself is fine. The problem is in the opener: its motor, its gears, its logic board, or its settings. You’re dealing with an electrical or opener issue, and no amount of door adjustment will fix it.
If the door feels heavy, binds, sticks, or slams shut, the problem is the door: springs, cables, track, rollers, or hinges. The opener may have been strained trying to move a door that stopped moving freely.
This distinction matters because it determines who you call and what you budget. A door problem needs a door specialist. An opener problem needs an opener specialist. At Steward Garage Door Repair home, our technicians handle both, and they arrive in Fountain Valley already knowing which of the eight major brands they’re working with. That means one visit instead of two.
Door Reverses Before Closing: The Three Most Likely Causes
A door that reverses before closing is the most common complaint we hear from Fountain Valley homeowners. But reversing is a symptom, not a diagnosis. Here are the three most likely causes and how to tell them apart.
1. Photo-Eye Sensor Misalignment
The photo-eye sensors sit on either side of the door, about six inches off the ground. If they’re misaligned, dirty, or blocked, the opener thinks something is in the door’s path and reverses. Here’s how to check:
- Look for a small LED light on each sensor. Both should be lit and steady.
- If one is blinking, that sensor is either blocked or misaligned.
- Wipe the lens gently with a dry cloth. Dust and spider webs cause more false reversals than actual obstructions.
- Adjust the sensor bracket until both lights are steady.
This is a five-minute fix in most cases. If the lights stay lit and the door still reverses, move to the next cause.
2. Travel Limit Setting Too Sensitive
Your opener has a travel limit setting that tells it how far to lower the door. If the limit is set too low, the opener thinks the door has reached the floor before it actually has, and it reverses. If the limit is set too high, the door presses into the floor and the opener reverses as a safety response. Either way, the fix is the same: adjust the limit screw or button on the opener motor unit until the door closes fully without reversing. This takes two minutes on most LiftMaster, Chamberlain, and Genie units.
3. Logic Board Malfunction
If the sensors are fine and the limits are set correctly, the problem may be the logic board. This is the brain of the opener, and when it fails, it sends false signals. Logic board failure is more common on openers older than 12 years, and it’s not something you can repair at home. We’ve replaced logic boards on every brand we service, and in our experience, this diagnosis gets missed by generalists who keep adjusting sensors that don’t need adjusting. That’s a service call wasted on the wrong fix.
If you’re in Fountain Valley and your door keeps reversing, call us at (877) 759-1759. We’ll diagnose the actual cause, not just the symptom.
Grinding, Popping, and Squealing: Reading the Noises Your Door Makes
Your garage door talks. The sounds it makes tell you whether the problem is in the door itself or in the opener. Here’s how to read what you’re hearing.
Grinding Noise
A grinding noise during operation almost always points to worn rollers or a stripped opener gear. To tell the difference, stand under the door while it opens. If the grinding follows the door along the track, the rollers are the problem. If the grinding comes from the motor unit, the opener gear is stripped. This distinction matters because roller replacement is a door repair, while gear replacement is an opener repair. On LiftMaster and Chamberlain units, the main drive gear is a known wear point after about 8-10 years. On Genie units, the screw drive can develop flat spots that produce a distinctive grinding rumble.
Popping or Banging
Popping sounds come from the door sections, not the opener. The most common cause is a loose hinge where two panels meet. As the door rounds the curve of the track, a loose hinge lets the panels shift, producing a popping sound. The fix is tightening the hinge bolts or replacing the hinge if the bushing is worn. If the popping comes from the springs, that’s a more serious issue, and you should stop using the door until a professional inspects it. Springs under tension can release violently.
Squealing
Squealing almost always means metal-on-metal contact somewhere in the system. The usual suspects: rollers that need lubrication, hinges that need lubrication, or a track that has shifted and is rubbing against the door. We recommend a silicone-based lubricant applied to rollers, hinges, and the track once a year. Avoid grease, which attracts dirt and accelerates wear. In Fountain Valley’s dry climate, lubrication breaks down faster than homeowners expect, so an annual lubrication is a smart habit.
If you’re unsure whether a noise is coming from the door or the opener, run the 60-second test. Disconnect the door and operate it by hand. If the noise disappears, the opener was causing it. If the noise persists, the door is the problem. That single test will save you from describing a symptom incorrectly to a repair service and getting the wrong fix.
How to Read Opener Error Codes on LiftMaster, Chamberlain, and Genie
Three opener brands dominate the market, and their error codes are readable by homeowners if you know where to look. Learning to read these codes gives you a head start on every troubleshooting call.
LiftMaster and Chamberlain
LiftMaster and Chamberlain openers share the same parent company and the same basic diagnostic system. To read the error code:
- Look for the “Learn” button on the back or side of the motor unit. Next to it, you’ll see a small arrow-shaped LED light.
- Count the flashes. The arrow LED blinks in a pattern that corresponds to a specific code.
- Match the pattern to the chart in your opener manual, or check the sticker on the motor unit, which usually lists the common codes.
Common patterns: 1 flash means a wiring issue. 4 flashes means the door is reversing due to an obstruction or sensor issue. 5 flashes means the travel module has failed. If you see 5 flashes, the opener is telling you it needs professional attention.
Genie
Genie uses a different system. The motor unit has a red and green LED. The red LED blinks to indicate a problem, and the number of blinks corresponds to a diagnostic code. Genie openers also have a “diagnostics” feature on some models that plays back the last several codes. The catch: Genie’s codes are less intuitive than LiftMaster’s, and the manual is often the only reliable key.
What Homeowners Can’t Read
Wayne Dalton, Craftsman, and Raynor openers do not expose homeowner-readable error codes. That doesn’t mean you’re stuck, it means the 60-second test matters more. If the door works manually but not on the opener, the opener is the problem regardless of brand. If you call a service and they mention the brand you have, that’s a good sign. We service all of these brands in Fountain Valley, including Wayne Dalton, Craftsman, and Raynor openers, and we’re already familiar with their failure patterns before we arrive. If you’re choosing a technician, read How to Hire a Garage Door Contractor in Fountain Valley: A Step-by-Step Guide.
If your opener is flashing a code you can’t interpret, Garage Door Opener Repair in Fountain Valley is our dedicated opener service, and we can decode it over the phone in most cases.
How to Do a Safe Manual Release and Visual Inspection
You can inspect your garage door safely without touching high-tension components. Here’s what to do, and what to leave alone.
Step 1: Pull the Release Cord
The emergency release cord hangs from the opener rail. It’s usually red. Pull it straight down to disconnect the door from the opener carriage. The door will now move freely on the track. Do this only when the door is fully closed. If the door is open and you pull the release, a broken spring could let the door crash down.
Step 2: Lift the Door Manually
Grasp the door at the bottom handle and lift. A properly balanced door should feel light, and it should stay in place when you lift it about three feet off the ground. If it drifts down or feels heavy, the springs are worn or broken. That’s not a DIY item. Torsion springs under tension can cause serious injury if mishandled. Call a professional.
Step 3: Inspect the Visual Components
- Rollers: Look for cracked wheels, wobbling, or visible wear. Rollers don’t fail silently, they grind.
- Cables: Check for fraying, rust, or loose strands. Cables connect the springs to the door, and a worn cable can snap without warning.
- Track: Look for bends, gaps, or loose bolts. The track should be parallel and smooth, not bowed.
- Hinges: Check for loose bolts or cracks. These are the joints of the door, and they take repeated stress.
Step 4: Reconnect the Door
Lift the door until the opener carriage re-engages, or press the wall button. On most openers, the carriage reconnects automatically on the next cycle.
If your visual inspection turns up anything you’re not comfortable assessing, stop and call. We’ve walked Fountain Valley homeowners through this process on the phone, and we’re always happy to tell you whether something is normal or needs a closer look.
Why Fountain Valley’s Climate Matters for Your Door
Fountain Valley sits about four miles from the Pacific, and the marine air does things to garage doors that inland homeowners never see. The salt-tinged humidity accelerates rust on cables, springs, and hinges. We see more rust-related cable failures in Fountain Valley than in any inland Orange County city, simply because the air carries moisture and salt year-round.
The temperature swings matter too. A Fountain Valley summer day can hit 90 degrees, while a winter night drops into the 40s. That 50-degree swing causes metal components to expand and contract daily, loosening bolts and stressing springs. A door that worked fine in August can start binding in January, and the cause isn’t the door falling apart, it’s the materials responding to temperature change.
What this means practically: annual lubrication and bolt-tightening are more important here than in drier, more stable climates. If you haven’t touched your door in a year, the climate has. And if the salt air has done its work, you may be looking at cable or spring replacement sooner than a homeowner in a drier region would be.
Common Mistakes to Avoid
- Lubricating everything with WD-40. WD-40 is a solvent, not a lubricant. It strips existing lubrication and leaves metal dry. Use a silicone-based garage door lubricant on rollers, hinges, and the track instead.
- Adjusting the springs yourself. Torsion springs are under hundreds of pounds of tension. A slip can cause severe injury. This is the one repair that has no safe DIY version. Call a licensed professional.
- Ignoring a noise because the door still works. A grinding roller is a $30 fix. A stripped opener gear caused by a grinding roller that stressed the opener is a $300 fix. Noise is an early warning.
- Replacing the remote batteries before checking the wall button. If the wall button doesn’t work either, the problem is not the remote. Batteries are the easy fix, but they’re also the easy misdiagnosis.
- Forcing the door when it binds. If the door sticks, don’t push it. A binding door usually means a spring or cable problem, and forcing it can damage the track or the opener. Stop, inspect, or call.
- Assuming the opener is the problem when it’s actually the door. Run the 60-second test. Half the “opener problems” we see in Fountain Valley are actually door problems wearing out the opener.
- Waiting until the door won’t open to call. By the time a door fails completely, the underlying problem has usually been developing for weeks. Fixing it early costs less than fixing it after a full failure.
When to Call a Professional
Some repairs are safe to attempt yourself: cleaning photo-eye sensors, tightening hinge bolts, lubricating rollers, replacing remote batteries. Some are not: anything involving torsion springs, cables under tension, track realignment, or opener gear replacement. If the 60-second test shows a mechanical problem and your visual inspection shows a broken spring or frayed cable, stop using the door and call. If the opener is flashing an error code you don’t understand, call. If you’ve tried the simple fixes and the door still misbehaves, call. Garage Door Repair in Fountain Valley from Steward Garage Door Repair starts with a diagnosis, not a part replacement. We offer free estimates in Fountain Valley, and the price is quoted and agreed before any work starts. Call (877) 759-1759.
Frequently Asked Questions
Garage door repair in Fountain Valley typically runs between $150 and $350 for common fixes like roller replacement, hinge tightening, or sensor realignment. Spring replacement runs higher, usually $300 to $500 depending on the spring type and the door weight. Opener gear replacement is typically $200 to $350. The exact price depends on your door’s brand, weight, and condition, so call (877) 759-1759 for a free estimate on your specific door. For more guides & resources, visit our blog.
We keep our schedule open for same-day repair calls in Fountain Valley and the surrounding area. Door problems that affect security or that leave a car trapped are priorities, and we do our best to get a technician out the same day you call. Dial (877) 759-1759 and we’ll give you a realistic arrival window.
No. We quote a fixed price before work begins, and that’s the price you pay. The only exception is if you ask us to do additional work beyond the original quote, and even then, we’ll quote the additional work separately and wait for your approval before doing it. You’ll never get an invoice bigger than the quote.
Our trucks carry common parts for LiftMaster, Chamberlain, Genie, Clopay, Amarr, Wayne Dalton, Craftsman, and Raynor systems. That means most repairs are completed in one visit. If your door needs a part we don’t have in stock, we’ll order it and return to install it, usually within a few days.
A loud bang during opening usually means a section hinge has broken or a spring is binding and releasing. A broken hinge is a moderate problem and can be repaired quickly. A spring that’s binding is more serious, and you should stop using the door until it’s inspected. Both are fixes we handle regularly in Fountain Valley.
In Fountain Valley’s marine air, a quality opener like a LiftMaster or Chamberlain typically lasts 10 to 15 years with regular maintenance. Cheaper openers may fail sooner. The climate’s salt content accelerates corrosion on moving parts, so an opener in Fountain Valley may need a gear or logic board replacement a few years earlier than the same model in a drier climate. If your opener is over 12 years old and misbehaving, replacement is often more cost-effective than repeated repairs.
The Bottom Line
Garage door troubleshooting isn’t about memorizing every possible failure. It’s about asking the right questions in the right order. Is the problem mechanical or electrical? What noise is the door making, and where is it coming from? What is the opener’s error code telling you? Answer those questions, and you’ll know whether you’re looking at a $15 fix or a $400 one before anyone arrives. If the answer is complicated, you have a resource. Steward Garage Door Repair handles the full system, door and opener, and we arrive in Fountain Valley already knowing your brand. One call covers the door and the opener. If you need a new door instead of a repair, Garage Door Installation in Fountain Valley is our specialty too. Call (877) 759-1759 for a free estimate.
Written by the team at Steward Garage Door Repair, serving Fountain Valley since 2014.
See the difference
 Before
 After
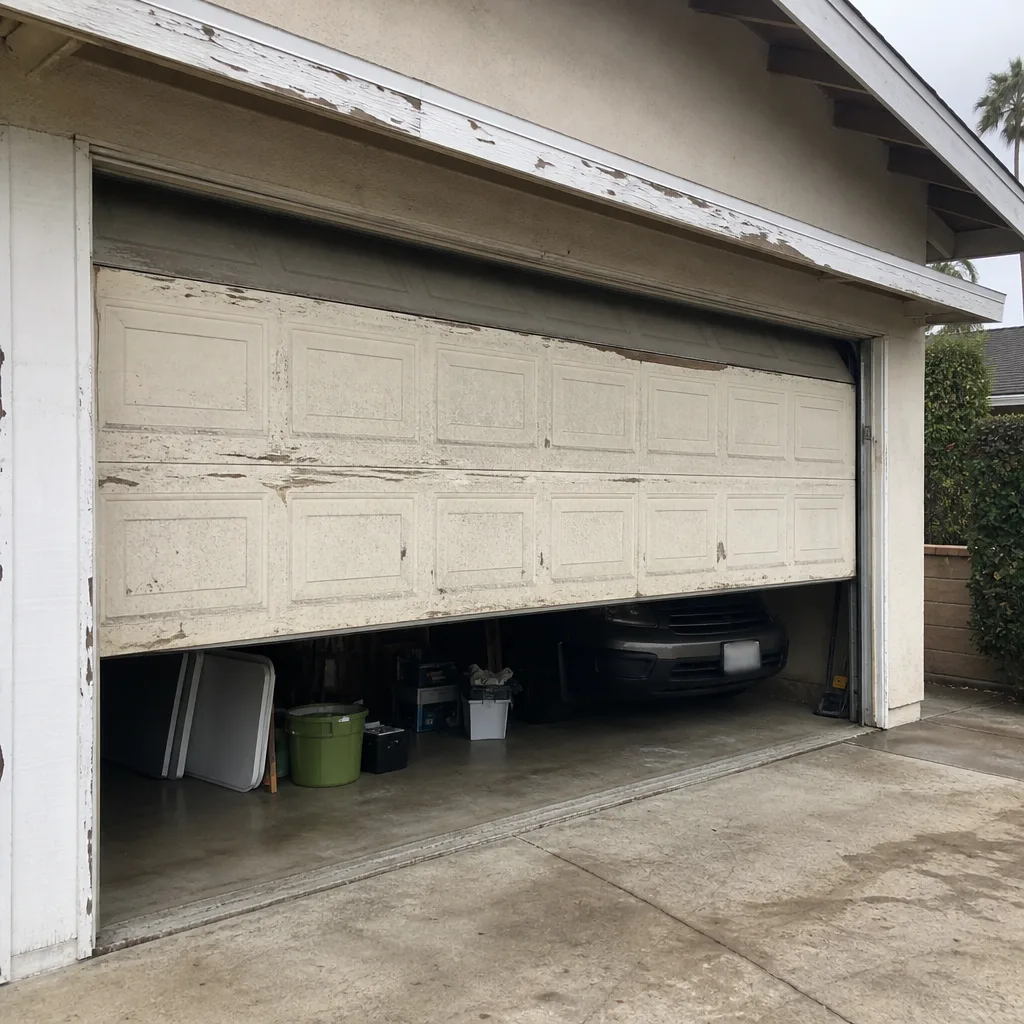 Before
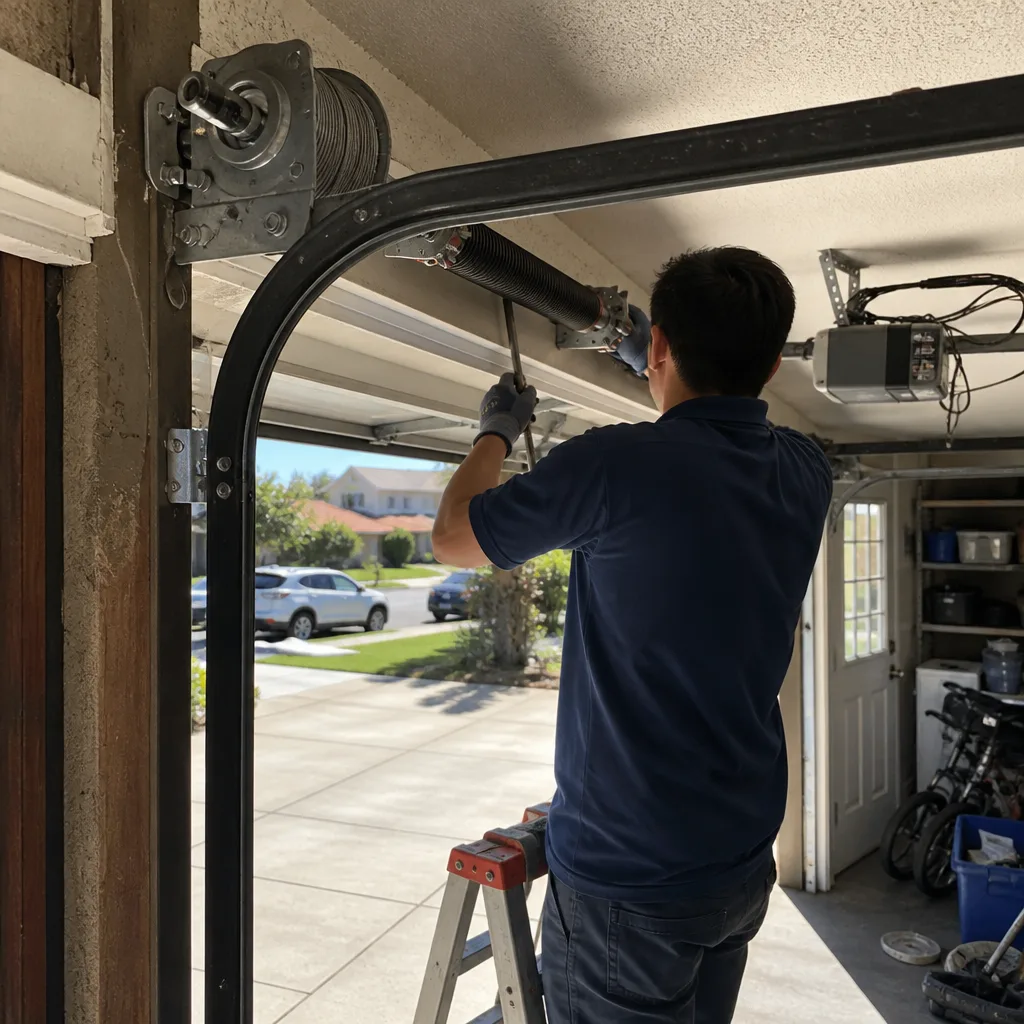 After
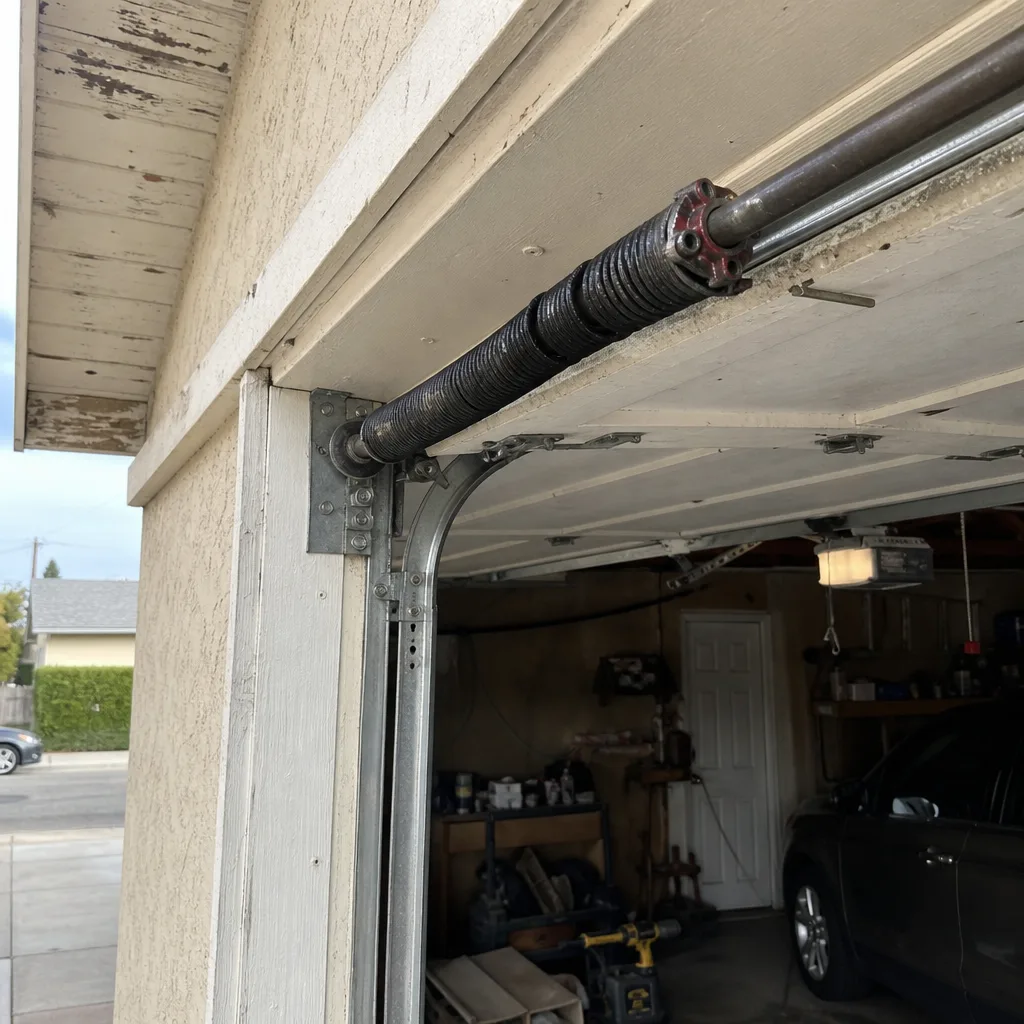 Before
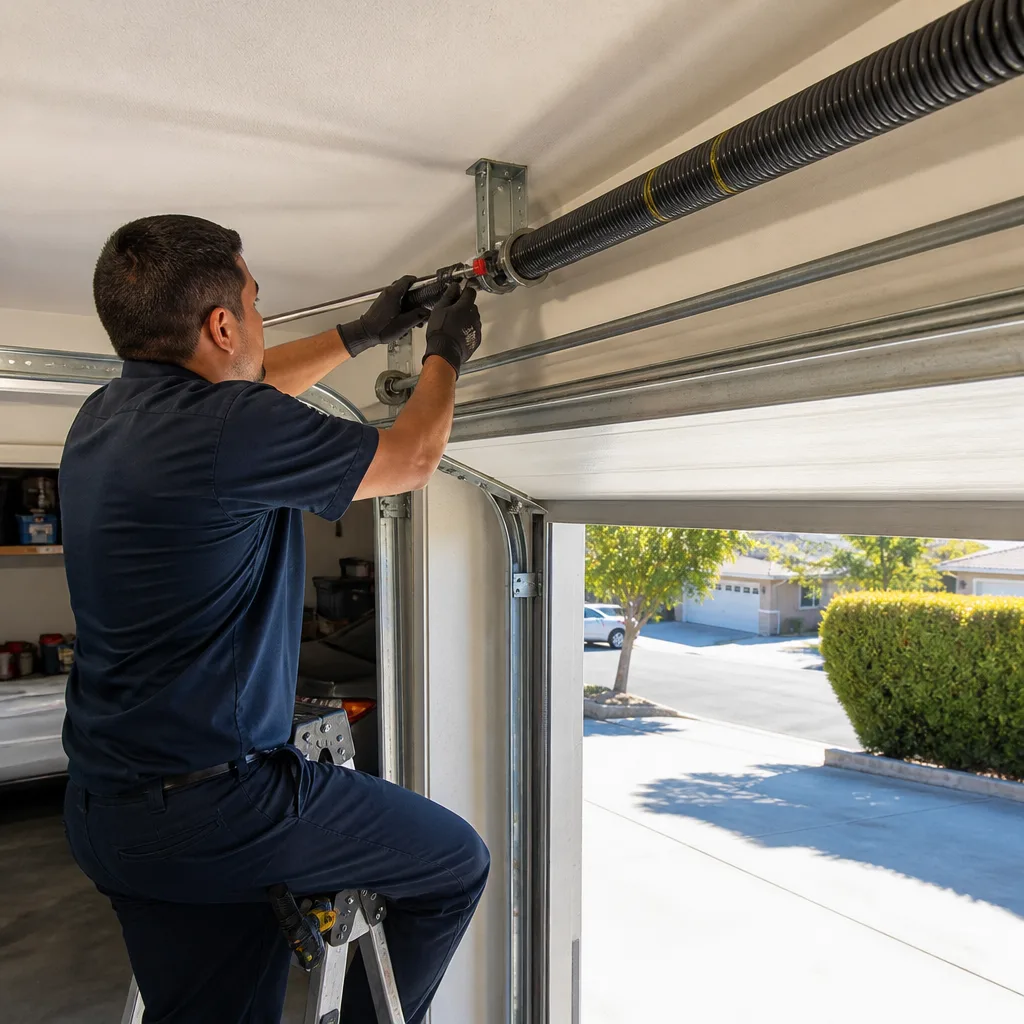 After